

Now cut a strip of patterned paper 2 1/4" wide. Then cut this strip into two 5 1/4" pieces.

Use adhesive to glue down the right and left edges of the bottom flap. Add the patterned paper strips to the bottom flap (which is now a pocket) and the top flap.

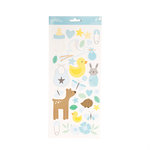
Place the bunny sticker on the top flap - only the ears should be "stuck" down. Use baby powder to remove the stickiness from the body and legs of the bunny sticker. (I like to sprinkle a little bit on my work surface, then use my finger to rub the powder on the sticky part of the sticker). Next, add a floral sticker to the inside of the top flap.

Now use one of the hearts from the patterned die-cut pieces in the top left corner of the top flap. Add foam adhesive to a heart sticker and add it next to the first heart.

Now it's time to tuck a note and gift card inside the pocket!
Place the bunny sticker on the top flap - only the ears should be "stuck" down. Use baby powder to remove the stickiness from the body and legs of the bunny sticker. (I like to sprinkle a little bit on my work surface, then use my finger to rub the powder on the sticky part of the sticker). Next, add a floral sticker to the inside of the top flap.
Now use one of the hearts from the patterned die-cut pieces in the top left corner of the top flap. Add foam adhesive to a heart sticker and add it next to the first heart.
Now it's time to tuck a note and gift card inside the pocket!

Wrap coordinating twine around the outside of the card and tie a bow! That's all there is to it! Slide it into an envelope and pop it in the mail - you're going to make somebody's day!!

Here's a closer look at the pink version:

Do you love making your own cards and sending them to special people? Share your Easter Happy Mail ideas in the comments!
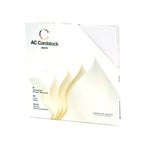
Supplies I used:

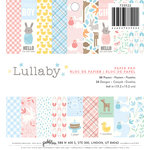

What a great design to add a thoughtful little something to. Love the baby papers - story time whimsy that is sweet and soft.
ReplyDeleteThanks so much, Susie! :)
Delete